1. Pre-Requisites
1.1. Neferdata Account
Create an account by logging into your dedicated instance using your Google or Microsoft account.
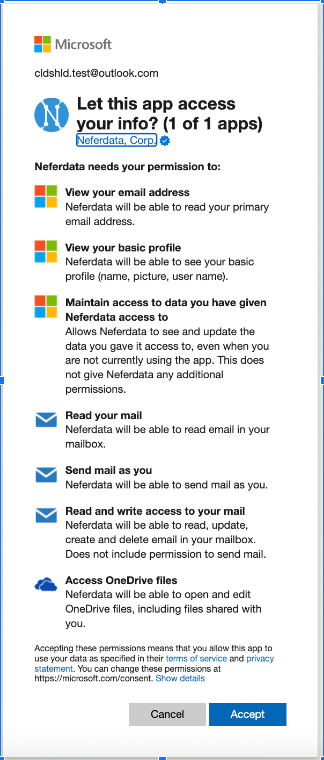
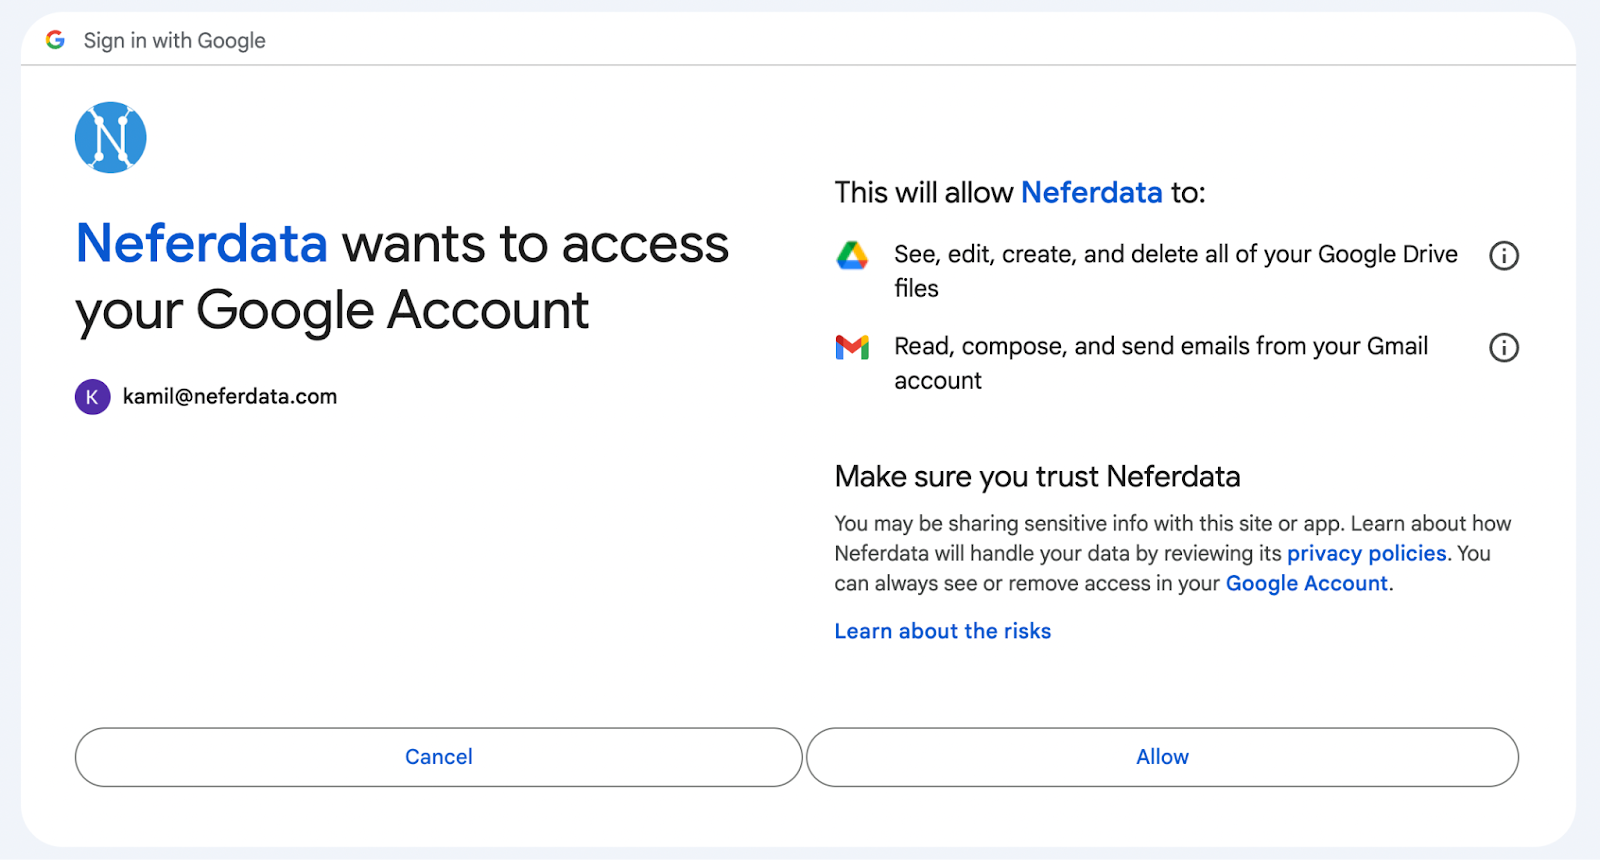
Please note: The application requires access to your Google/Microsoft resources to automate your workflows, therefore it is required to consent on the below login screen:
1.2. Microsoft / Google Resources
If you plan to leverage Microsoft or Google resources in your automations, for example, an Excel spreadsheet hosted in SharePoint or a Google Spreadsheet on Google Drive, you will need to create those resources before you start building the automation.
2. Document Processing Automation
You can create a fully functional AI-powered automation with just a few quick steps:
2.1. Step 1: Define Object & Columns
2.1.1. Example Video
2.1.2. Explanations
As the first step, you need to create an Object that will contain all the definitions of data that AI is expected to extract from each document it will be processing. The provided example creates an Object called Invoice.
When creating an Object you are also required to define Columns for the Object that will represent the fields you want AI to extract from each document. In the example, we are creating Columns for vendor_name, due_date, and total_amount. The definition you provide in plain English helps AI understand what data should be extracted for each Column.
Keep in mind that you can always add more columns or change the definition of the existing ones later. Because you are operating directly on the source documents you can always tweak definitions to see there is no pressure to get it right the first time.
2.2. Step 2: Define Automation
2.2.1. Example Video
2.2.2. Explanations
For each Automation, you have to define base configuration such as Automation Name, Object Name, Column Names, and Frequency (sec).
- Object Name - defines what data the AI will attempt to extract from each of the processed documents. You can select any of the predefined Objects created in Step 1: Define Object & Columns.
- Column Names - specifies which fields the AI should extract for every processed document. You can leave this empty if you would like AI to extract all fields of the object.
- Frequency (sec) - specifies how frequently the automation is executed. For example, if set to 600 the automation will run every 10 minutes and check the emails that were received in that time span.
Each Automation requires a Data Source. Neferdata offers an ever-growing list of Data Sources such as email or folder integrations. When executing the Automation checks the Data Source for new documents that should be processed. When an email is received or a document added to the folder, those will be automatically picked up for processing in the next run.
It is possible, but not mandatory, to add Pre-Processor to an Automation. Pre-processors are recommended if the Data Source may include documents that are in the form of images. For those, an Online Character Recognition (OCR) pre-processor can be used to extract text from images.
Each Automation requires a Data Target. Automation posts the extracted data into the Data Target. Examples of supported Data Targets include folders or spreadsheets, both from Microsoft and Google.
2.3. Step 3: Review Results
2.3.1. Example Video
2.3.2. Explanations
Every time the Automation runs it will log information about the documents it picked up from the Data Source and about the status of each step of processing.
This information can be reviewed in the Automation screen of Neferdata.